How To Remove Concrete Sealer: A Step-by-Step Guide
Concrete sealers are a popular choice for protecting and enhancing the appearance of concrete surfaces, such as driveways, patios, and floors. Over time, however, these sealers can become old, worn out, and faded, necessitating removal before a new sealer can be applied. Removing a concrete sealer can be a tedious task, but it's a necessary step if you want to maintain the integrity and visual appeal of your concrete surfaces.
In this comprehensive guide, we'll walk you through the different methods for removing concrete sealers, whether they are solvent-based or water-based, to help you achieve the best results for your project.
If you would like a quicker or more elaborate answer to your repair and construction questions, call the experts at TMC Engineering! If you're in Southern California, we can instruct you on your problem and perform whatever repair is necessary. We've got an expert solution for all your asphalt or concrete needs!
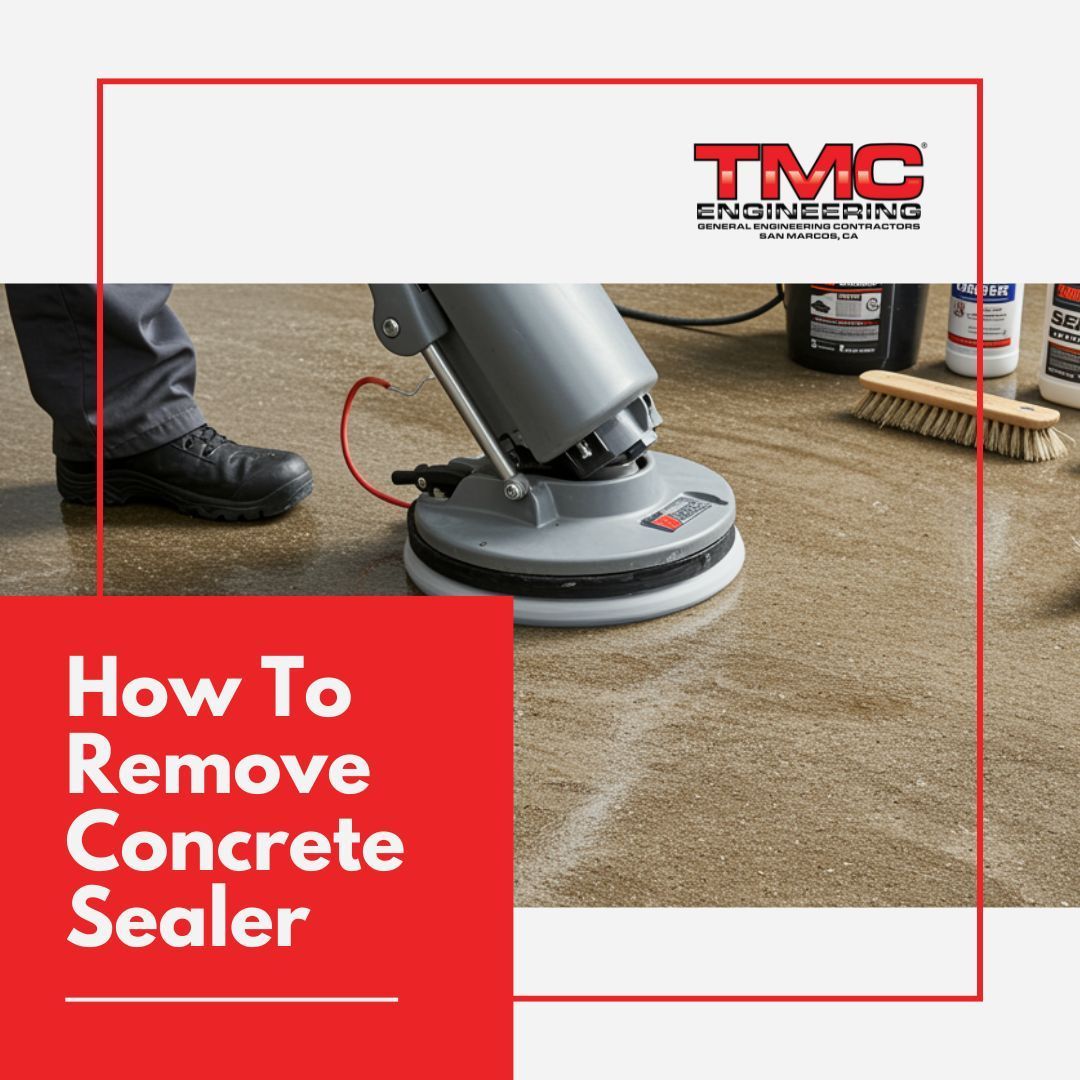
How To Remove Concrete Sealer
There are several ways to effectively remove concrete sealers, and the approach you choose will depend on the type of sealer you have and the condition of your concrete surface. Solvent-based and water-based sealers demand different removal methods, and using the wrong approach could damage the concrete or be a waste of time. Below, we break down the best practices for each category.
In this post, we'll cover the most common methods for removing both solvent-based and water-based concrete sealers.
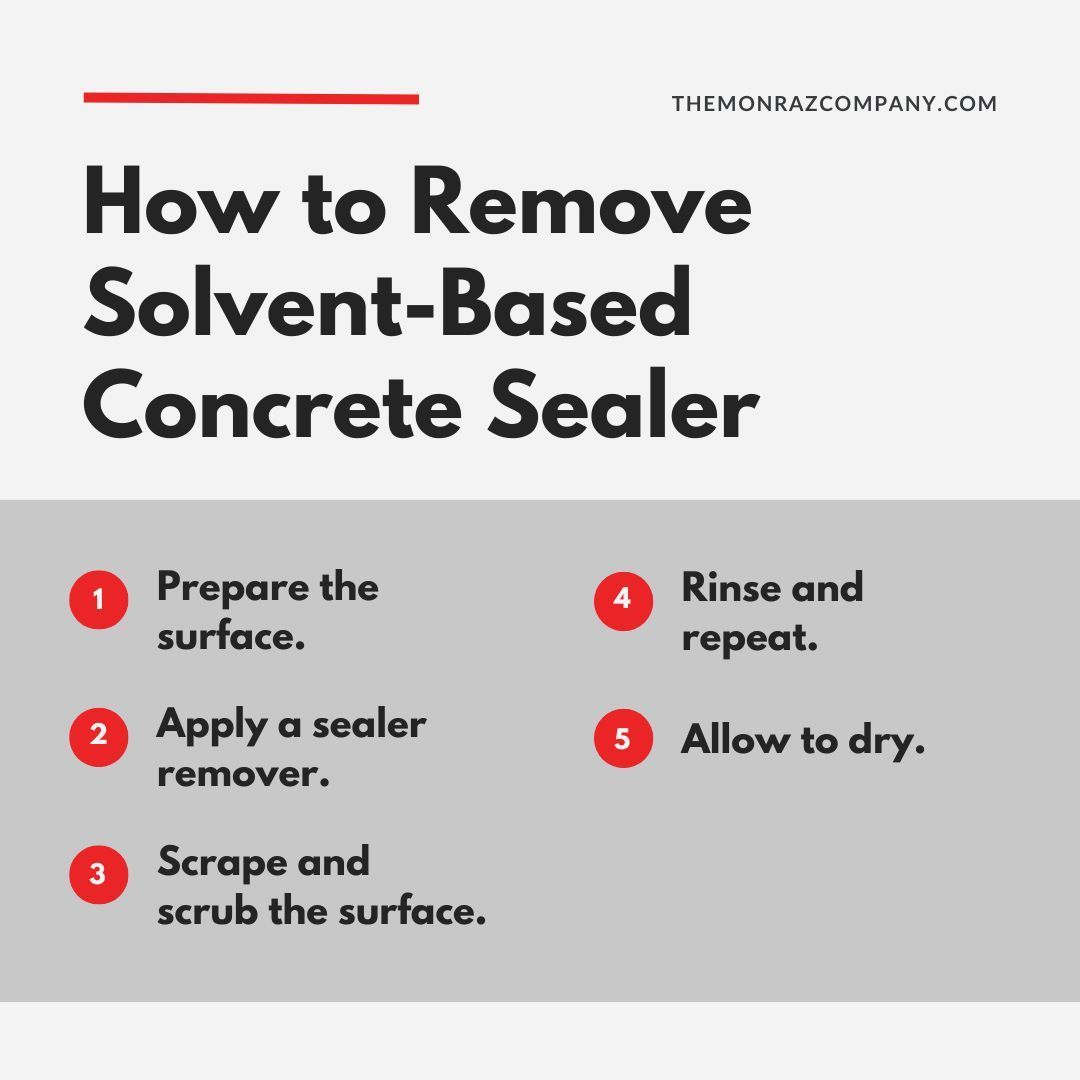
How to Remove Solvent-Based Concrete Sealer
Solvent-based concrete sealers are typically more durable and long-lasting than their water-based counterparts, but they can also be more challenging to remove. Here's a step-by-step guide on how to tackle this task:
Step 1: Prepare the surface.
Begin by thoroughly sweeping or vacuuming the concrete surface to remove any loose debris or dirt. This will help ensure the sealer removal process is as efficient as possible.
Step 2: Apply a sealer remover.
Invest in a commercial-grade concrete sealer remover, which is specifically formulated to dissolve and break down the sealer. Pour the stripper onto the concrete, focusing on heavily coated areas. Use a brush or roller to spread it evenly. Follow the instructions on the product carefully, as the application and dwell time may vary.
Step 3: Scrape and scrub the surface.
After the sealer remover has had time to work, use a floor scrubber, rotary floor machine, or a stiff-bristle scrub brush to agitate the surface. This will help lift and remove the loosened sealer. For stubborn spots, switch to a diamond-edged scraper.
Step 4: Rinse and repeat.
Once you've scrubbed the surface, use a wet/dry vacuum or a pressure washer to thoroughly rinse away the sealer remover and dissolved sealer. If the sealer is still not completely removed, repeat the process until the surface is clean.
Step 5: Allow to dry.
Allow the concrete to fully dry for 24 to 48 hours before proceeding with any further steps, such as applying a new sealer or coating.
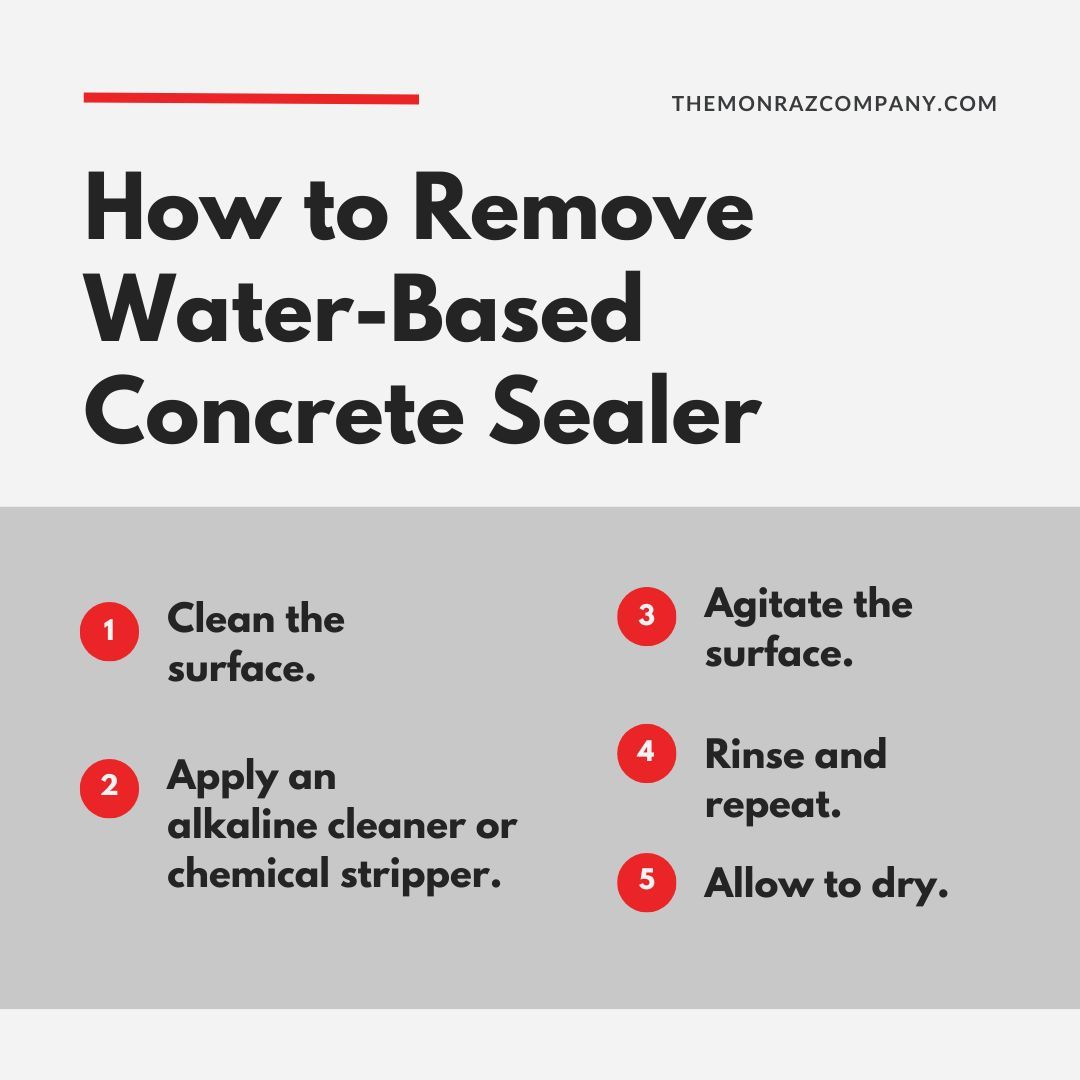
How to Remove Water-Based Concrete Sealer
Water-based concrete sealers are generally easier to remove than their solvent-based counterparts, as they are typically less durable. Here's how to approach removing a water-based sealer:
Step 1: Clean the surface.
As with the solvent-based sealer removal process, start by thoroughly sweeping or vacuuming the concrete surface to remove any loose debris.
Step 2: Apply an alkaline cleaner or chemical stripper.
Choose a concrete sealer stripper or alkaline cleaner that is specifically formulated for water-based sealers. Apply the stripper according to the manufacturer's instructions, making sure to cover the entire surface. Avoid acidic products, which can etch the concrete.
Step 3: Agitate the surface.
After the recommended dwell time, use a floor scrubber, rotary floor machine, or a stiff-bristle scrub brush to agitate the surface and lift the loosened sealer. For large areas, use a floor machine with a stripping pad.
Step 4: Rinse and repeat.
Use a wet/dry vacuum or a pressure washer to thoroughly rinse away the sealer stripper and dissolved sealer. If any residue remains, repeat the process until the surface is clean.
Step 5: Allow to dry.
Once the concrete is completely dry, you can proceed with applying a new sealer or coating.
It's important to note that the success of your sealer removal efforts will also depend on the condition of your concrete surface. If the concrete is heavily stained, damaged, or has multiple layers of sealers, you will need to hire a professional concrete restoration company.
At
TMC Engineering, we have the expertise to remove any type of concrete sealer irrespective of the degree of damage. Our professionals are highly trained in the use of necessary tools for seamless removal and resealing where applicable.
Contact us to discuss solutions for your commercial property!
For the right tools to tackle your concrete projects, be sure to check out our previous post:
"Tools for Concrete"
. Having the proper equipment can make all the difference in achieving successful sealer removal and subsequent concrete treatment.
Removing a concrete sealer requires careful planning, the right tools, and knowledge of the sealer type.
Regardless of the type of sealer you're dealing with, patience and attention to detail are key when removing concrete sealers. By following the steps outlined in this guide, you can successfully remove the old sealer and prepare your concrete surface for a fresh, new application. Read our detailed guide on how to strip concrete sealer.
For more information on how to deal with issues on concrete, you can visit our blog. We have plenty of guides on numerous concrete matters, such as:
At
TMC Engineering, we have a deep commitment to delivering projects characterized by the highest
standards for safety, workmanship, and client satisfaction. We aim to provide you with valuable content and insights related to the
services our
team of experts provides!
Whether you require
asphalt paving,
striping, sealing, or
concrete work, we offer a full suite of transportation construction solutions. Look no further we’ve got all you need and more!

